Step 1: Cutting
We know our readers are clever and many of you are expert sewers and patternmakers, but in case some of you need a little guidance, we thought we’d do a step-by-step instruction manual via our blog so we can all make the dress together!
Preparing your fabric
Our proprietary fabric has been prewashed and shrunk, but if you’d like to wash it again before cutting your pattern, you can do so. We recommend washing in cold water and laying flat or hanging to dry. You can also put it in the dryer on low for a few minutes to start drying. Once the fabric has dried, iron or steam it to get out any folds or wrinkles to get it ready to cut out your pattern pieces.
Cutting out your size
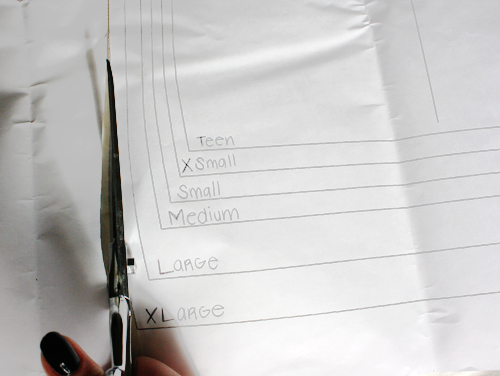
If you’ve opened up your pattern by now, you’ll have noticed that all the sizes are nested one inside the other. This is done to save paper and show the difference in sizes for easier selection. The sizes are not marked on the pattern pieces, but since there are only 6 sizes it’s not too hard to figure out. Just in case, here’s what we’re doing.
First, choose your size, or the closest size to what you need, and count in from the smallest size on the patterns. Sizes are, in order, TEEN-XS-S-M-L-XL. If you want size Small, then cut out the third size in from the smallest size.

Pattern Placement
Once you’ve cut out all your pattern pieces, separate the ones for self fabric (this is the fabric you’ll use for your dress) and facing & pocketing fabric (this is a secondary fabric that should be lighter than the self fabric. There is also one piece for fusible or interfacing (this is for the collar).
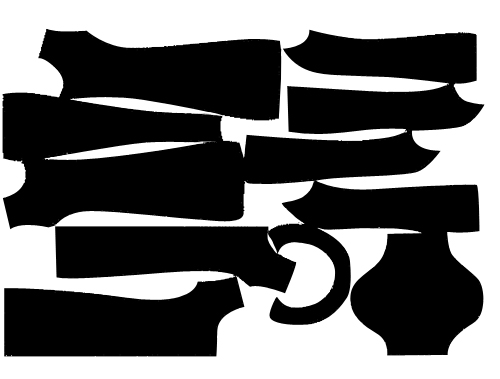
Pattern placement will vary depending on the width of the fabric you’re using. The UP organic cotton & silk fabric is 54″ wide and the pattern requires about 1.7 yds for the dress. There is an example of the placement below, but you can place the pieces any way you like providing you keep the arrows marked on the pattern parallel to the sides of the fabric (meaning the clean selvedge edges). If your fabric has a nap (ex. velvet, fake suede) or a design with a right side up then make sure to cut all the pieces in the same direction to avoid shading and upside down graphics.
Pin or trace your pattern pieces onto the fabric and cut carefully around the edges of the pattern. It’s best to cut one layer of fabric at a time to keep the cuts accurate.

Stay tuned for our next post on preparing your cut pieces for sewing. And feel free to comment on this post with any additional suggestions or tips. We want this to be an open forum discussion. Happy cutting!
x.Tara St. James
Comments